
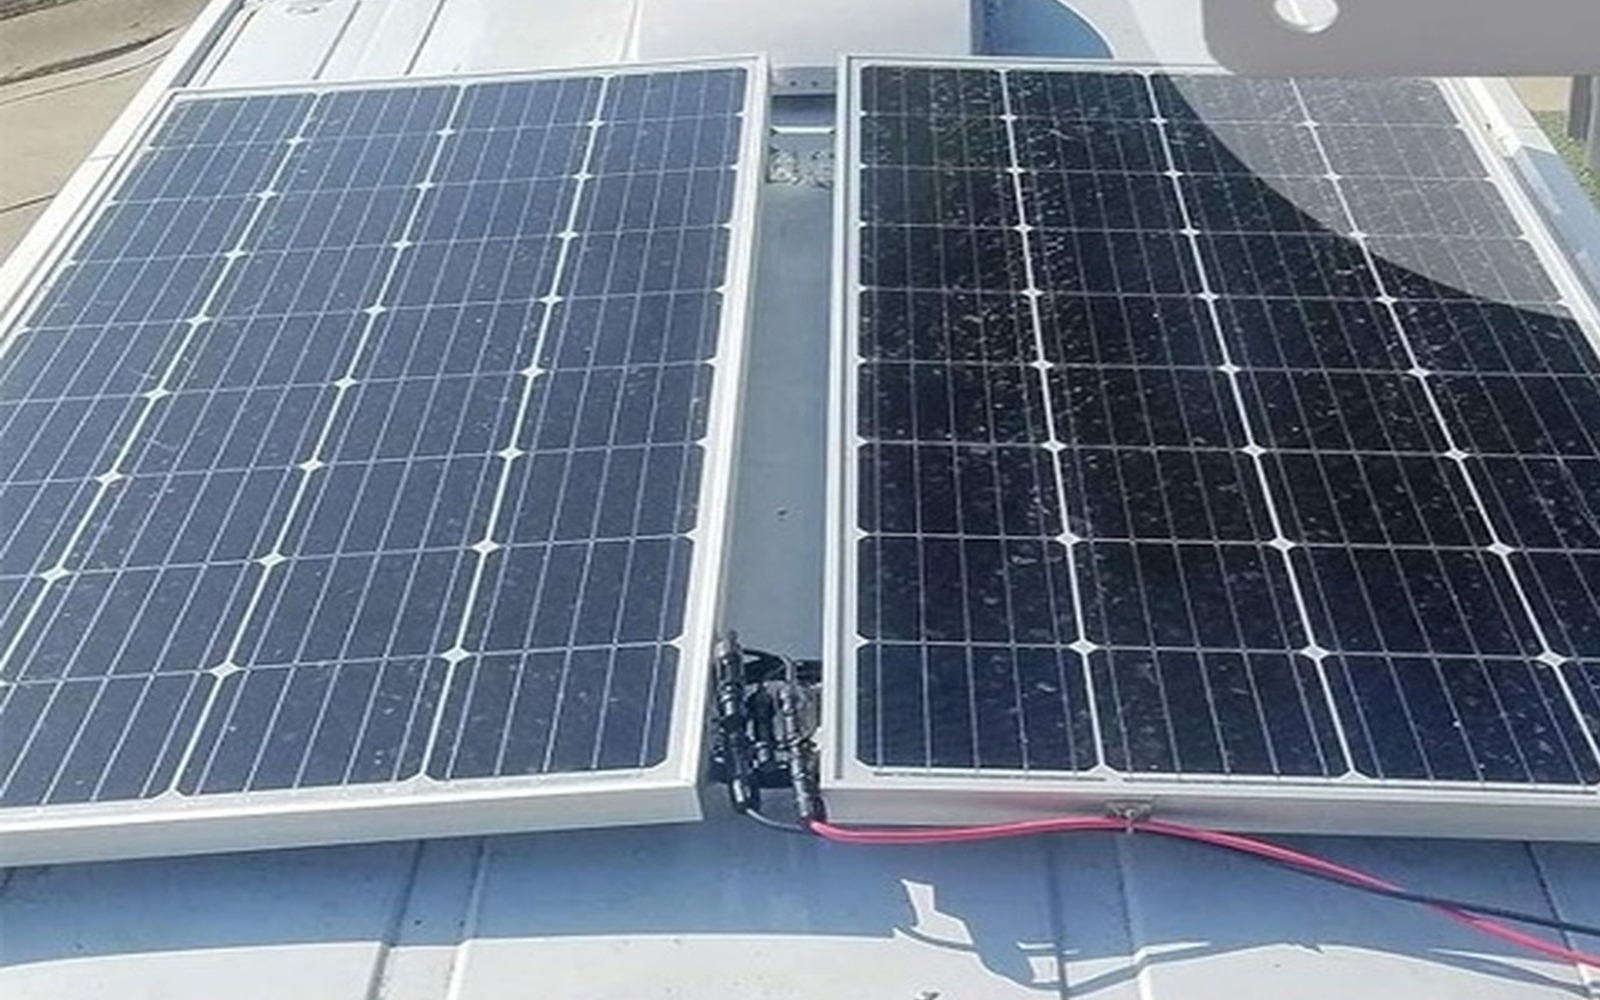
No — you do not have to drill into the roof, and on most modern vans you should not. Bonded mounting has been the mainstream method for campervan solar for years now. It holds fine, it survives motorway speeds, and it leaves the one thing you cannot easily repair — the roof skin — intact.
This question comes up in almost every enquiry we get, usually phrased with some anxiety. It deserves a proper answer rather than a sales one.
Why drilling is the risky option, not the safe one
People assume screws are stronger. Mechanically that is often true. The problem is what a screw hole does to a vehicle over time:
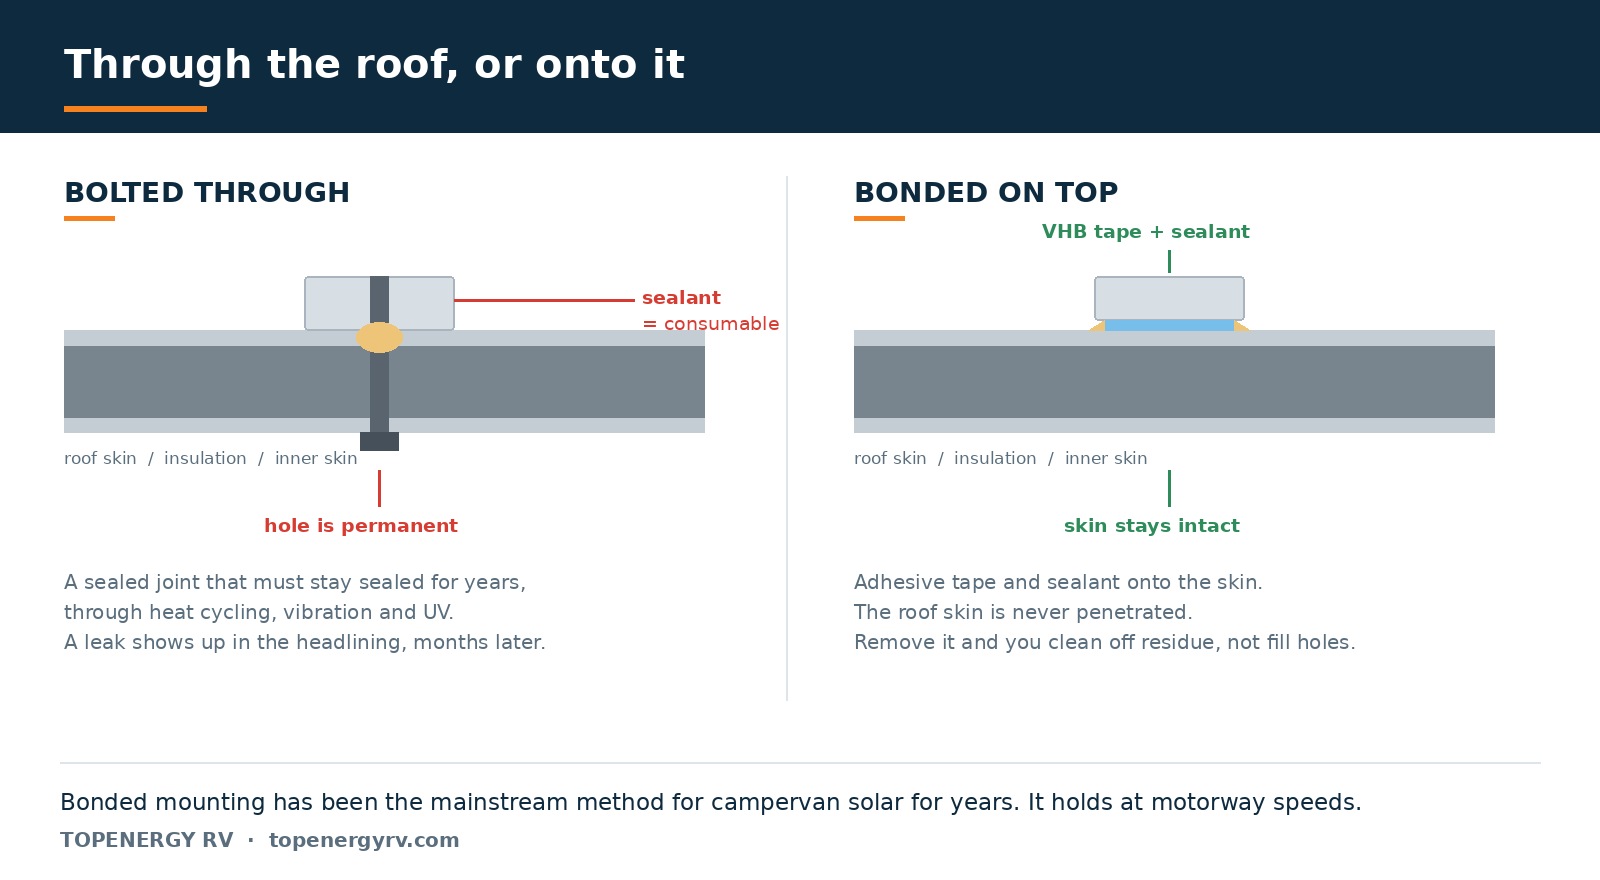
- Every hole is a sealed joint that has to stay sealed for years, through heat cycling, vibration, and UV degradation of whatever sealant you used. Sealant is a consumable. Roof holes are not.
- A leak does not announce itself on the roof. It shows up as a damp patch in the headlining, or as rot in a timber frame, months later and some distance from the actual hole.
- It is close to irreversible. Remove a bonded bracket and you have adhesive residue to clean off. Remove a bolted one and you have holes to fill, permanently, on a vehicle you may want to sell.
- On many vans it voids something. Roof warranties, lease terms and some insurance conditions treat penetrations differently from surface-mounted accessories. Worth checking before, not after.
What bonded mounting actually involves
The bracket is adhered to the roof; the panel fixes to the bracket. The adhesive does the structural work, so the preparation matters more than the product:
- Clean properly, then clean again. Wash the roof, then wipe the bonding areas with isopropyl alcohol to remove wax and polish residue. Factory wax is invisible and it will quietly halve your bond strength. Let it dry completely.
- Dry-fit before committing. Lay everything out and check clearances around roof lights, air conditioning units, aerials and vents. Mark the positions with masking tape.
- Leave gaps between panels — 20 to 30 mm is a reasonable figure — for airflow and so water can drain rather than pool.
- Bond, then leave it alone. Structural tapes reach handling strength in an hour or two but take a day or more to reach full strength. Do not drive it hard, and do not test it by pulling on the panel.
- Seal the edges. A bead of neutral-cure silicone around the bracket perimeter keeps grit and water from working underneath. Neutral-cure matters: acetic-cure silicone smells of vinegar and can corrode metals.
When drilling is still the right answer
We would be overselling if we said never. Bolt it if:
- The roof is a material adhesives struggle with, or one that flexes a great deal under load.
- The vehicle is commercial and lives at motorway speed permanently.
- You are mounting heavy rigid panels rather than lightweight flexible ones.
- There is already a suitable roof rail or rack — in which case you are clamping to structure, not penetrating the skin, and that is the best of both.
The mistake that actually causes failures
It is not the mounting method. It is bonding a flexible panel flat to the roof with no bracket at all. This is popular because it is quick and cheap, and it goes wrong in two predictable ways.
First, heat. A laminate lying directly on hot metal has nowhere to shed heat, and panel output falls as temperature rises — you lose power on exactly the days you were counting on it. Second, moisture. Water and grit get under the edges, cannot dry out, and over a couple of seasons you get delamination and bubbling.
A bracket that lifts the panel a few millimetres solves both, routes the cabling underneath rather than across the roof, and lets you remove the panel later without destroying it.
In short
Bonded, bracket-mounted panels are the sensible default for a campervan or motorhome: no holes, reversible, and better for the panel than gluing it flat. Prepare the surface properly and it will outlast the panel.
Our ABS and aluminium bracket sets are designed for exactly this, in 4 to 7-piece configurations for different panel sizes. If you tell us your panel dimensions we will tell you which set fits — including for panels you did not buy from us.
Have a question about your build?
Tell us the vehicle, the roof dimensions and your daily consumption. We will size the system and quote it — and say so if what you are asking for will not work.