
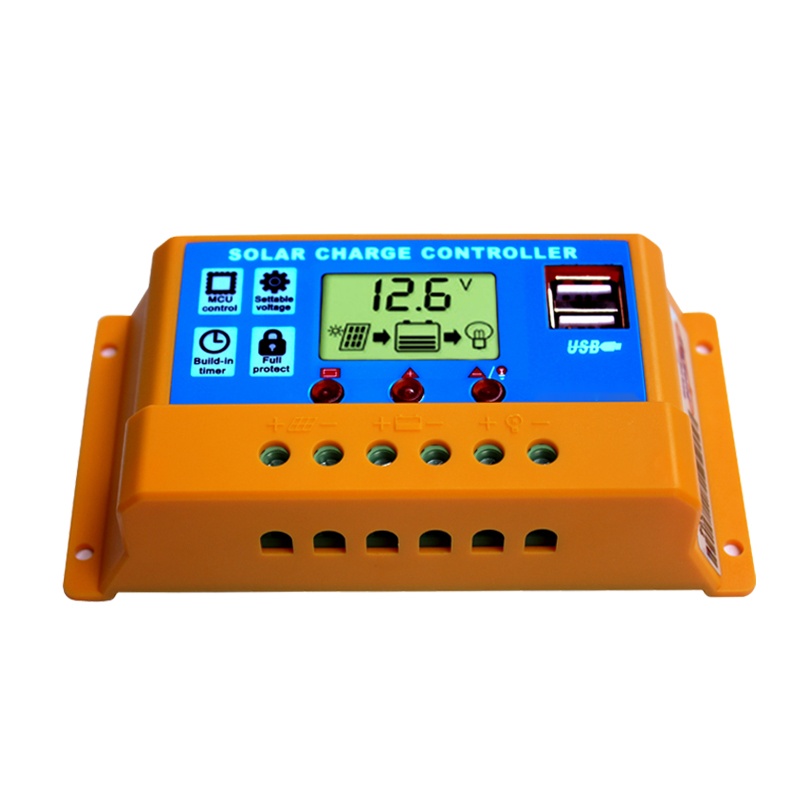
MPPT above roughly 200 W. PWM only for small, cheap, trickle-charging setups. The extra cost of MPPT is real, but so is the energy PWM throws away — and it throws the most away in exactly the conditions where you need it most.
What each one actually does
A solar panel does not have one output. It has a curve, and there is one point on it — the maximum power point — where voltage × current is highest. That point moves with light and temperature, constantly.
A PWM controller is essentially a fast switch between panel and battery. It drags the panel down to whatever the battery is sitting at and lets the rest go. If the panel would happily deliver at 18 V and the battery is at 12.5 V, the panel is forced to 12.5 V. The current stays roughly the same, so the difference in voltage is simply not harvested.
An MPPT controller is a DC-to-DC converter with a tracking algorithm. It holds the panel at its optimum point and converts the surplus voltage into extra current at battery voltage. The energy that PWM discarded goes into the battery instead.
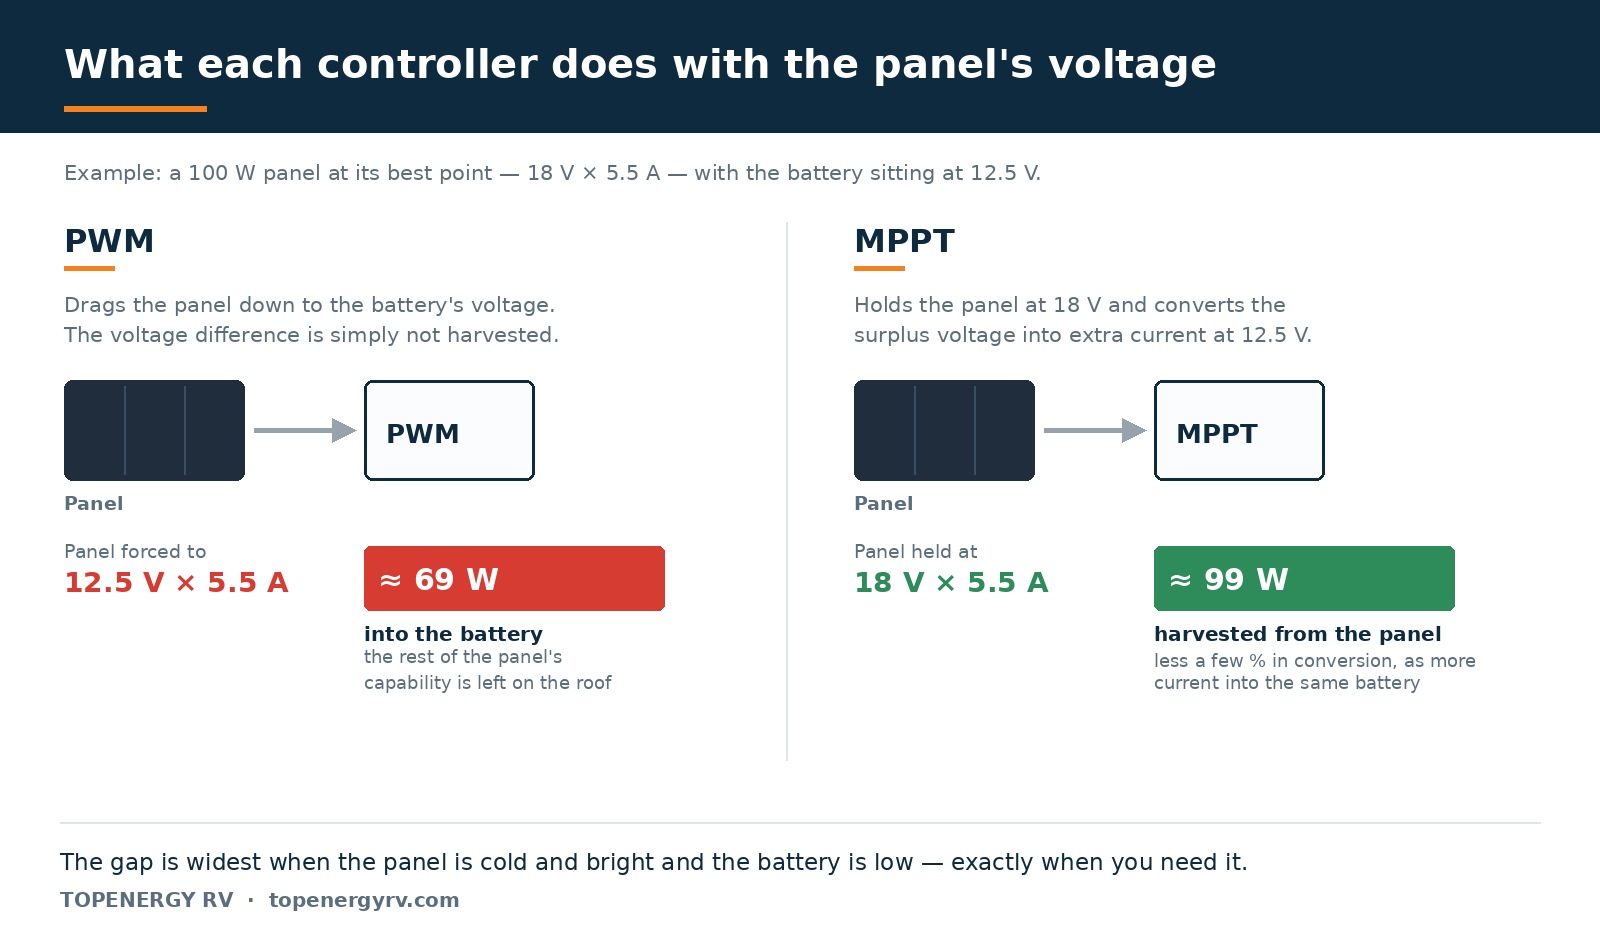
When the difference is largest
This is the part that gets left out of the usual comparison, and it is the part that matters on a campervan:
- Cold, bright conditions. Panel voltage rises as temperature falls. A cold panel produces more voltage above battery level — exactly the surplus PWM discards and MPPT converts. A crisp winter morning is where the gap is widest.
- When the battery is low. The lower the battery voltage, the further PWM drags the panel down, and the bigger the loss. So the deficit is worst when you are already short of power.
- Higher-voltage panels. If you use a panel designed for grid systems rather than a nominal-12 V one, the voltage gap is enormous — and MPPT is not merely better there, it is the only sensible option.
Conversely, on a hot summer afternoon with a nearly full battery, the two are much closer. Which is precisely the wrong time to be comparing them: that is not when your system is under stress.
Where the money lands
Do the sum on your own system rather than trusting a rule of thumb. Take the price difference between the two controllers, and set it against the extra energy MPPT recovers over the years you will own the van.
- On a 100 W trickle setup keeping a leisure battery topped up: the controller can cost a meaningful fraction of the panel. PWM is defensible.
- On a 200 W van system that you actually live off: MPPT, comfortably. The additional cost is small relative to the whole installation, and you feel the difference on marginal days.
- On 400 W and up: PWM would be a strange decision. At that scale the controller is a small part of the budget and the energy at stake is significant.
Sizing and selection, briefly
- Rate the controller on current, and leave headroom. Array watts ÷ battery voltage gives roughly the amps; choose the next size up. Cold, bright conditions can push a panel slightly above its rated output.
- Check the maximum PV input voltage against your panels’ open-circuit voltage in cold weather, not at 25 °C. Voc rises as temperature falls, and exceeding the controller’s limit damages it. This is the single most common way people destroy a controller.
- Match the battery chemistry. A LiFePO4 battery needs a different charge profile from AGM. Most decent controllers have selectable profiles — set it correctly, and if the battery has its own BMS, make sure the two are not fighting.
- Mount it somewhere with air. Controllers throttle back when hot and eventually shut down. Inside a sealed locker behind the panelling is a bad place, however tidy.
- Bluetooth is worth more than it looks. Not for the novelty, but because being able to see actual harvest and battery state on a phone is how you find out whether your system does what you assumed.
One wiring rule that catches people out
Connect the battery to the controller first, then the panel. Many controllers read battery voltage on startup to identify whether they are on a 12 V or 24 V system. Power them from the panel first and they can misidentify it — or simply not start. On disassembly, reverse it: panel off first, then battery.
What we actually put in our own kits. Our 200 W kit ships a 30 A MPPT; the 400 W kit ships a 60 A MPPT. That is the sizing we stand behind when we have to pick for a customer, so it is a reasonable starting point if you are picking for yourself.
We stock PWM and MPPT controllers from 10 A to 60 A. Tell us your panel configuration and battery and we will tell you which one is right — and say so if the cheaper one is fine. Get in touch.
Have a question about your build?
Tell us the vehicle, the roof dimensions and your daily consumption. We will size the system and quote it — and say so if what you are asking for will not work.